Wall & Shower Waterproofing in Cape Town
Cape Town specialists in internal wet-area tanking and external wall sealing. Mapegum WPS, Sika Seal Tape and Super Laycryl under tile, with a dye-traced diagnosis and a 10-year guarantee.
Benefits
Dye-traced leak diagnosis before quoting — we don't guess which wall to open up
24-hour ponding test on every internal job, photographed at 0h and 24h
Sika Seal Tape bedded at every corner — the failure point in 9 out of 10 leaking showers
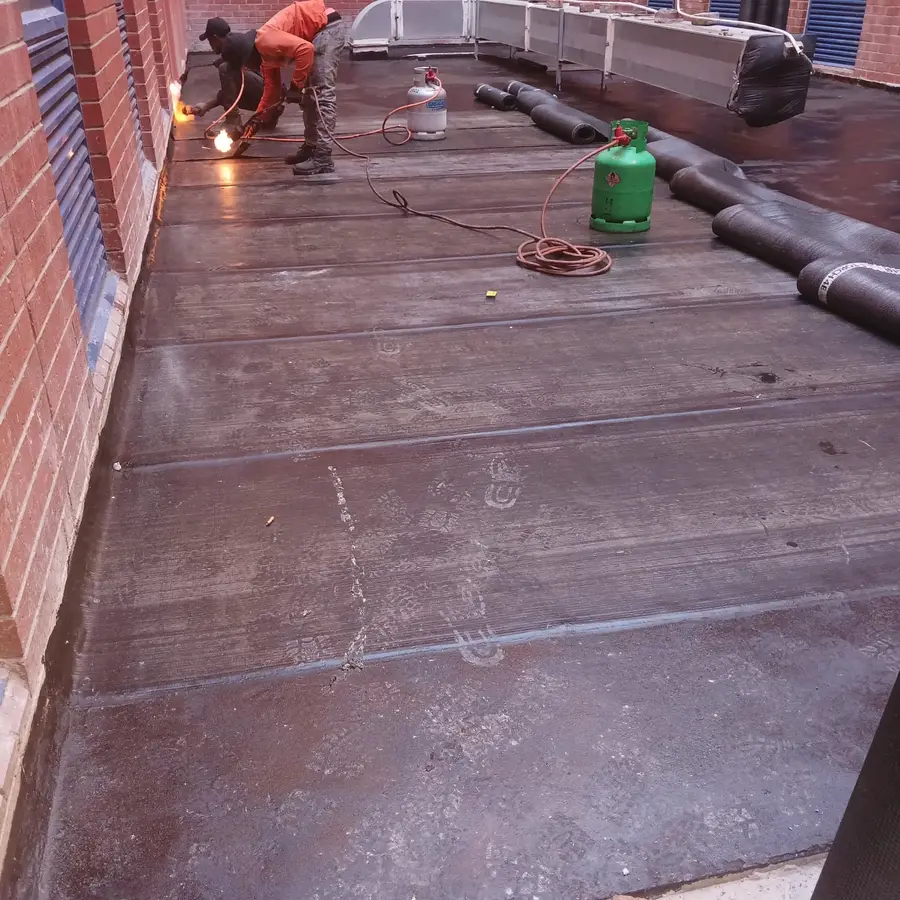
Tanking specified to SANS 10400-L using Mapegum WPS, Super Laycryl or Aquaflex
Wind-driven-rain mitigation for west-facing exterior walls (Atlantic Seaboard exposure)
10-year workmanship guarantee transferable on resale
Our Process
Dye test through the shower drain plus moisture-meter readings on the dry side of the wall and (if relevant) the ceiling below, to confirm the leak path before any tile comes off
Two-option quote where the substrate allows it — surface-level epoxy regrout and penetrating sealer, or full strip back to screed with new tanking
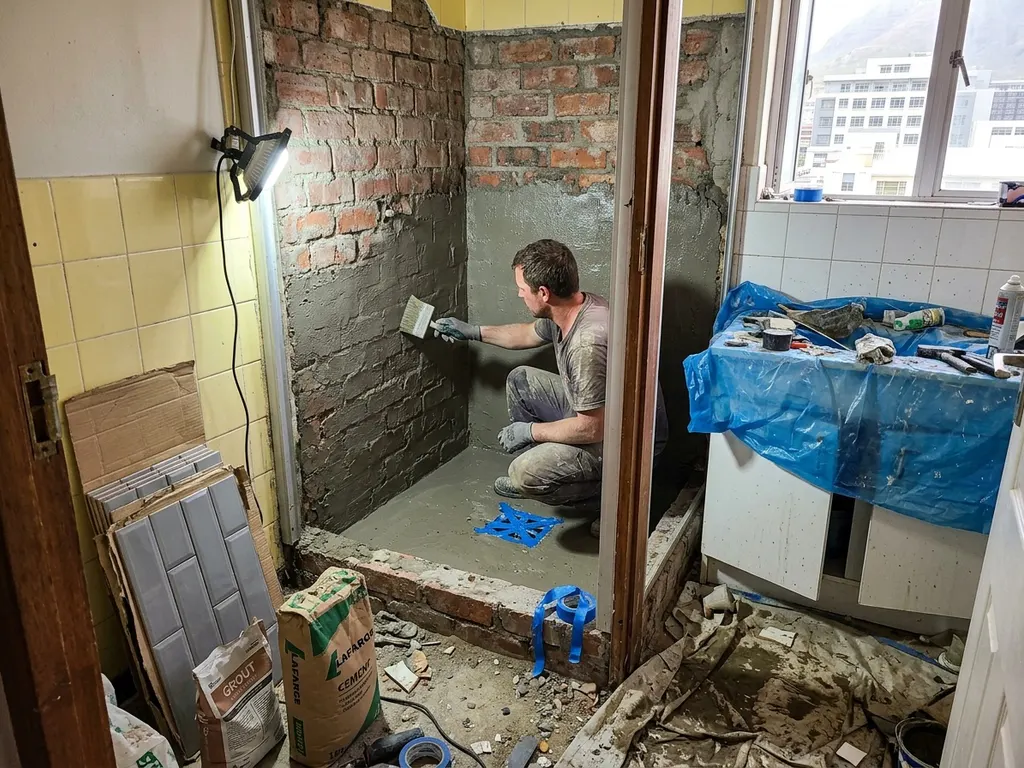
Containment and demolition of the wet zone only: typically the shower enclosure plus a 300mm tile margin, dust-sheeted and protected for occupied units
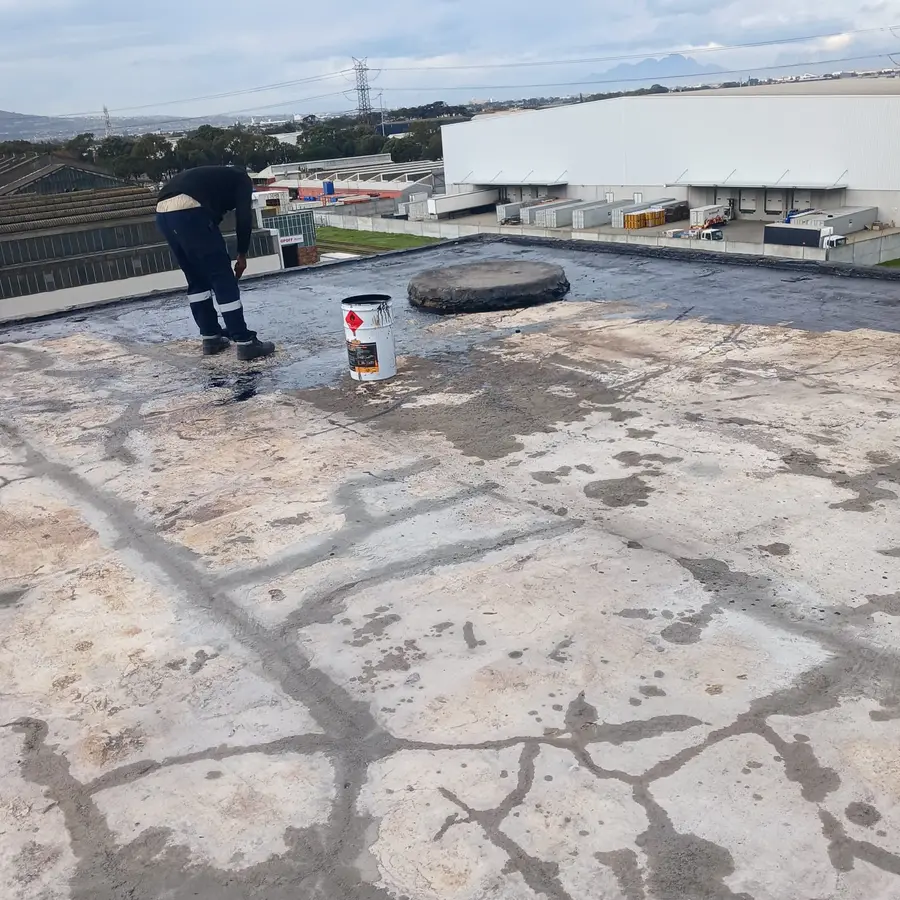
Substrate prep — crack-stitching, mortar repair, primer coat, then Sika Seal Tape laid into every junction and around every penetration
Two coats of Mapegum WPS (or ABE Super Laycryl on heavier-movement substrates), brushed and rolled to a target dry-film thickness, with reinforcing scrim at all corners
Fill the shower tray to overflow level and leave for 24 hours — water level photographed at start and end before any tile work resumes
Re-bed tiles with C2 adhesive, finish with epoxy grout in the splash zone and neutral-cure silicone at every movement joint, hand over the test photos and the 10-year certificate
Pricing
From R3,800 per shower
2026 indicative ZAR pricing. Sealer + epoxy regrout on a sound substrate R3,800-R7,500 per shower. Full strip, tank and retile R8,500-R19,000 depending on tile spec and the size of the enclosure. External west-wall sealing R95-R190/m² (penetrating silane vs elastomeric pigmented coating). Sectional-title work in apartment blocks quoted per stack with multi-unit discounts.
Get Accurate QuoteFrequently Asked Questions
The grout in my shower looks awful — is that what's leaking?
Almost never. Grout is decorative cement-sand mix, not a waterproofing product. It is meant to be porous so the tile bed can dry between uses. The actual waterproofing layer sits beneath the tiles — a cementitious or polyurethane membrane like Mapegum WPS or ABE Super Laycryl. If that membrane was skipped, applied too thin, or never carried into the floor-to-wall corner with Sika Seal Tape, water passes straight through the grout (by design) and meets nothing behind it. Re-grouting a leaking shower is a cosmetic fix that buys you weeks. Diagnosing whether the failure is the membrane or just tired surface finishes is the whole job.
Can you waterproof over existing tile without ripping everything out?
For mild seepage on a sound substrate, yes — we clean back the grout lines, apply a penetrating silane/siloxane sealer to the tile face and joints, and replace the silicone in every movement joint with a neutral-cure product. That buys roughly 5-8 years on a tile bed that was originally installed correctly but has aged. For an active leak dripping into the unit below, hollow-sounding tiles, or visible damp on the back of the wall, surface treatments are a waste of money. The membrane underneath has failed and the only honest fix is to strip the affected zone back to substrate, re-tank with Sika Seal Tape at the corners and Mapegum WPS across the field, water-test, and re-tile.
Why does my Sea Point apartment leak into the flat below when the shower silicone is brand new?
Because silicone is the very last line of defence — it seals the visible tile-to-tile and tile-to-bath joints, but does nothing for water that has already passed behind the tile face. Water enters through the grout (porous), hits the membrane (which either holds or fails), and if the membrane was never wrapped up the wall, over the floor and around the drain flange, it tracks sideways through the screed until it finds the path of least resistance — usually the slab penetration where the waste pipe drops to the unit below. New silicone on an old failed membrane just keeps the cosmetic line clean while the water continues to find its way down. The fix is to lift the floor tiles in the enclosure, re-tank the tray with proper falls back to the drain, bond-tape every corner, and water-test for 24 hours before re-tiling.
How is sealing an external Camps Bay wall different from waterproofing a shower?
Completely different products and completely different failure mode. An exterior west-facing wall on the Atlantic Seaboard is taking wind-driven rain — water blown sideways at a porous brick face for hours at a stretch during a winter cold front. The fix is a vapour-permeable penetrating sealer (silane or siloxane based) that lets the wall breathe outward while blocking liquid water from being driven inward, or for badly cracked masonry, a pigmented elastomeric coating that bridges hairline cracks and flexes with wall movement. Internal shower waterproofing is the opposite — a sealed, non-breathing membrane that holds standing water in. You cannot substitute one for the other. Putting elastomeric paint on the outside of a damp wall is a common mistake that traps moisture in the brick and accelerates spalling.
What's a proper water test and why does it matter?
After the tanking is fully cured (usually 24-48 hours after the second coat), we plug the shower drain with a purpose-made bung, fill the tray to the lip of the threshold or overflow point, and leave it for a full 24 hours. We photograph the water level against a fixed reference at hour zero and again at hour 24. If the level has dropped by more than a few millimetres (allowing for evaporation), there is a defect in the membrane that has to be fixed before re-tiling — finding it once tile is back on is an order of magnitude more expensive. The test photos are part of the handover pack and have been accepted as evidence in body-corporate disputes in both Constantia and Green Point complexes we've worked on.
I've just bought a fixer-upper in Observatory — what's the realistic lifespan of a properly done shower?
Two-coat Mapegum WPS or ABE Super Laycryl installed correctly with Sika Seal Tape at every corner, on a sound screed with proper falls, gives 15-20 years before any membrane review is warranted. The surface finishes age faster — silicone joints typically need replacement every 5-7 years, epoxy grout 8-12, and that's not the waterproofing failing, it's the finishes hitting their expected service life. Lower bills, less drama. A Constantia ensuite we did in 2014 has had two silicone refreshes and the original tanking is still bone dry under a 24-hour test in 2026 — that's what a done-properly first installation looks like in practice.
Wall & Shower Waterproofing across Cape Town
We cover the suburbs below — free on-site inspection on every quote:
Ready to Get Started?
Get a free, no-obligation wall & shower waterproofing quote from our Cape Town team — on-site inspection included.
Get Free Quote Now